

It has always been cumbersome to build and load the C++ plugins available in the Maya devkit and, ever since Maya 2019, the Maya Windows devkit doesn’t even include a Visual Studio Solution to build its example plugins with just a few clicks. Let’s not even mention what to do when there are also scripts involved…
As I find myself often building and testing out plugins in the devkit, I decided to document and share a simple workflow that I use to facilitate this, which has been tested up to Maya 2023.
Let’s get right to it.
Requirements
- Autodesk Maya (2019+)
- CMake (download and install)
- Visual Studio Community (download and install)
- Maya devkit (download)
Setup
Once we have downloaded and installed everything, we need to extract the contents of the Maya devkit (devkitBase folder) in a directory of your choosing (e.g., C:\DEV\devkitBase). From now onwards, we will call this directory %DEVKITBASE%.
Making sure Maya finds the plugins you build
With the devkit extracted, we need to make sure Maya will be able to find the plugins that we build. For this purpose, you need to add some environment paths to the version of Maya that you are using.
To do this, you need to go to documents\maya\2023 (change “2023” to the version of Maya you are targeting) and open the Maya.env file in a text editor (Notepad should do just fine). Within Maya.env, add the following environment variables, replacing %DEVKITBASE% with the directory where your devkitBase folder is in.
Save and close the text editor. These variables will allow Maya to find the plugins next time you start the program.
Building plugins
Now that the setup is complete, we need to build the plugin and put the files in the respective folders for Maya to find them. To do this, you can use a small batch script that automates this process. You can download the build.bat batch script here and place it in %DEVKITBASE%.
If you prefer creating the batch file yourself (some Browsers might flag .bat files by default as harmful) you can open Notepad and copy/paste the following:
Once pasted, you need to save the file in the %DEVKITBASE% directory with the .bat extension e.g., build.bat.
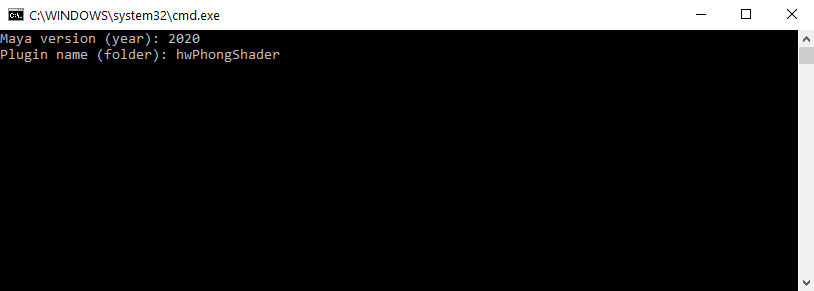
With the build.bat file ready, we can run it. Once opened, the command prompt will appear and ask you for what version of Maya you want to build a plugin. Just enter the number version of Maya e.g., 2023 and hit Enter.
Afterwards, it’s going to ask you for the plugin name inside of the devkit. You can find all available C++ plugins in %DEVKITBASE%\devkit\plug-ins. Just enter the name of the folder of the plugin e.g., hwPhongShader, fileTexture, animExportUtil and hit Enter.
The batch script will then proceed to build the desired plugin and put the build files inside the build folder at the %DEVKITBASE%.
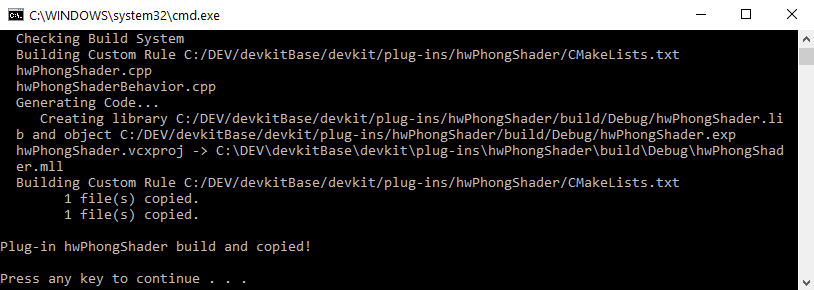
That’s it, start Maya again and you should be able to automatically see the plugin in Maya’s Plug-in Manager (Windows->Settings/Preferences->Plug-in Manager).
Closing remarks
The built files will reside in the build folder at the %DEVKITBASE%, but you can still find the created Visual Studio Solution in its plugin folder %DEVKITBASE%\devkit\plug-ins\YOURPLUGIN\build\Project.sln. There are plenty of other ways to build Maya devkit plugins, however, this is enough for my testing needs.
I hope this small article makes someone’s life a bit easier when building Maya devkit plugins in the future.
Until next time!


